Kid’s Club make Felt Balls
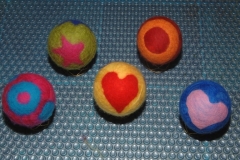
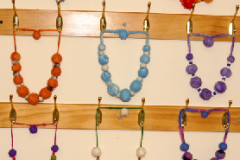
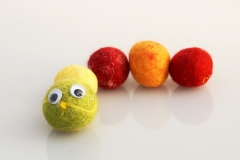
| 15th February 2012Today the Kid’s Club had a great time making felt balls.
During the workshop the children learnt how to wet felt around a small soft ball.
They also learnt how to nuno felt to add more interest to the project.
We began by covering the work surfaces with solar pool covering to provide the textured base. (bubble wrap or a bamboo mat can also be used).
You will need :
- A small soft ball
- A quantity of dyed Merino fibre
- Pre-felt shapes
- Spray bottle containing soapy water. (not included in the kit)
When teaching felting, I much prefer not to use the wahing machine. I feel it is a much more valuable experience if the children learn how to do the felting in their own hands. This gives them the opportunity to learn how the wool changes through various stages as it felts. they learn how to handle the fibres gently at first – until the fibres start to bond – then they can be more aggressive a little later on.
Start by Separating the wool into small strips
Place the ball on some type of support to prevent it rolling around whilst you are working – I use a napkin ring.
1st layer
Spray the ball with soapy water and carefully lay the tufts of fibre in a horizontal direction until the ball is covered. Overlap the fibre slightly so that no gaps are seen and to assist in the felting process. Spray gently as you go – pressing and “stroking” as you proceed. Try to avoid the fibres clumping up.
2nd layer
Turn the ball 90 degrees and arrange a second layer of fibres around the ball and proceed as in the first layer. But with the fibres crossing over each other.
Spray just enough soapy water onto the fibres to enable them to cling to each other without drenching them. Roll the ball gently in the palms of your hands for a few minutes.
3rd layer
Again, turn the ball 90 degrees and arrange a third layer of fibres around the ball and continue as before.
Roll the ball over the textured surface – gently at first so you don’t disturb the fibres. As the ball starts to compress you can increase the pressure. Add more soap and warm water as required to maintain a light white surface without a heavy lather.
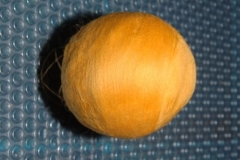
Continue rolling for about another 3 – 5 minutes or until the ball looks/feels half felted. At this stage you can add your pre-felt shape and create a lovely pattern.
Nuno felting
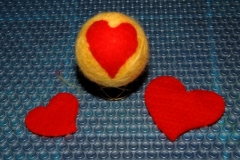
Arrange your chosen shapes as desired over the top of the half felted fibres and spray gently. Press and stroke into position. Take great care as the pre-felt shape is very delicate at this stage. After a minute or two caress the ball in the palms of your hand until the pre-felt shape is clinging to the underneath fibres.
Continue by gently rolling the ball onto your textured surface and increase the pressure when the fibres begin to bond.
Keep stopping and checking the shapes remain in place. It is helpful if you massage the shapes with your fingers paying particular attention to the edges.
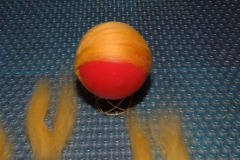
When the fibres have bonded, bounce the ball 100 times or more on the textured surface which is called fulling the felt – making it more robust.
The children really enjoy this!
Finally, rinse the balls well – alternating between hot and cold water. Adult supervision will be required here – so the little ones don’t burn themselves.
Squeeze out excess water and allow to dry for 24 hours.


